Drywall and plaster are common materials used in the construction and finishing of walls and ceilings. While they provide a smooth and attractive surface when first installed, over time, they can develop cracks, holes, and other forms of damage. Fortunately, repairing drywall and plaster is a manageable DIY project with the right tools and techniques. In this article, we will provide you with valuable tips for successfully tackling drywall and plaster repair.
Home Improvement Made Easy: Tips for DIY Drywall and Plaster Repair
Gather the Necessary Tools and Materials
Before you start any repair project, it’s essential to gather all the required tools and materials. For basic drywall and plaster repairs, you will need items such as a joint compound, a putty knife, sandpaper, a utility knife, a drywall patch or mesh tape, and a paintbrush. Make sure you have everything on hand to avoid interruptions during your project.
Assess the Damage
Before you can begin repairs, assess the extent of the damage. Cracks, holes, and water damage all require different approaches to fixing. Smaller holes and cracks can be easily repaired with joint compound, while larger holes may need a patch. For water damage, it’s crucial to identify and address the source of the moisture before repairing the affected area.
Prepare the Surface
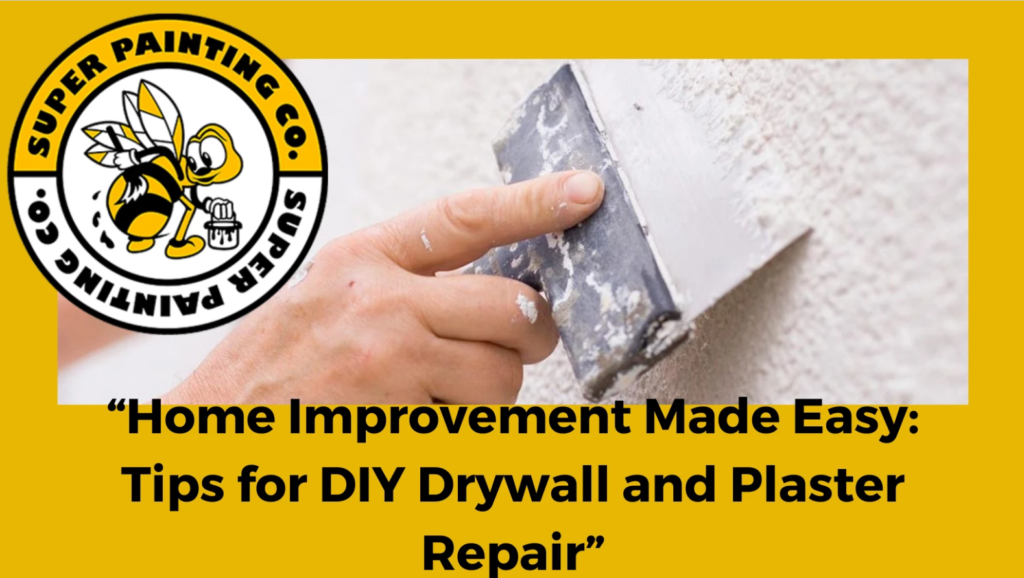
For a successful repair job, ensure the damaged area is clean and free of loose debris. Use a utility knife to remove any loose or damaged material around the damaged area. Sand the edges to create a smooth transition between the repair area and the surrounding surface.
Apply Joint Compound
When dealing with smaller cracks and holes, turn to joint compound as your trusty ally. Begin by applying a thin layer of joint compound onto the affected area, using a putty knife. Skillfully feather the compound along the edges to create a seamless integration with the surrounding wall or ceiling.
Allow ample drying time, which may span several hours, before proceeding to the smoothing stage through careful sanding.
Use a Drywall Patch or Mesh Tape
For larger holes or cracks, you’ll need to use a drywall patch or mesh tape. Apply a layer of joint compound to the damaged area, then place the patch or tape over it. Apply another layer of joint compound over the patch or tape, feathering the edges. Once dry, sand it down until it’s smooth and even.
Sand and Repeat
Sanding is a crucial step to achieve a smooth finish. Use fine-grit sandpaper to sand the repaired area until it’s flush with the surrounding surface. If necessary, apply additional coats of joint compound, repeating the sanding process between coats, until you achieve a seamless finish.
Prime and Paint
After your repair is smooth and even, it’s time to prime and paint. Use a high-quality primer to ensure good adhesion of the paint, and then apply your chosen paint color. Be sure to feather the paint into the surrounding area to achieve a uniform appearance.
Match the Texture
If your walls or ceilings have a textured finish, matching the texture can be a bit tricky. You can purchase texture spray cans or use specialized texture tools to recreate the original texture. Experiment on a scrap piece of drywall or cardboard to achieve the desired texture before applying it to your repair area.
Repairing drywall and plaster doesn’t have to be a daunting task. With the right tools, materials, and techniques, you can tackle common issues like cracks, holes, and water damage effectively. Remember to assess the damage, prepare the surface, apply joint compound or patches, sand, prime, paint, and match the texture as needed. By following these tips, you can restore the beauty and functionality of your walls and ceilings with confidence.
Transform Your Home Today with Super Painting Contractor!
If you’re looking for professional assistance with your drywall and plaster repair needs, consider reaching out to Super Painting Contractors. Our team of experienced experts is ready to transform your damaged walls and ceilings into pristine surfaces.
Don’t hesitate to contact us for a free consultation and estimate. Say goodbye to cracks, holes, and imperfections—contact us to get started on your repair project today!